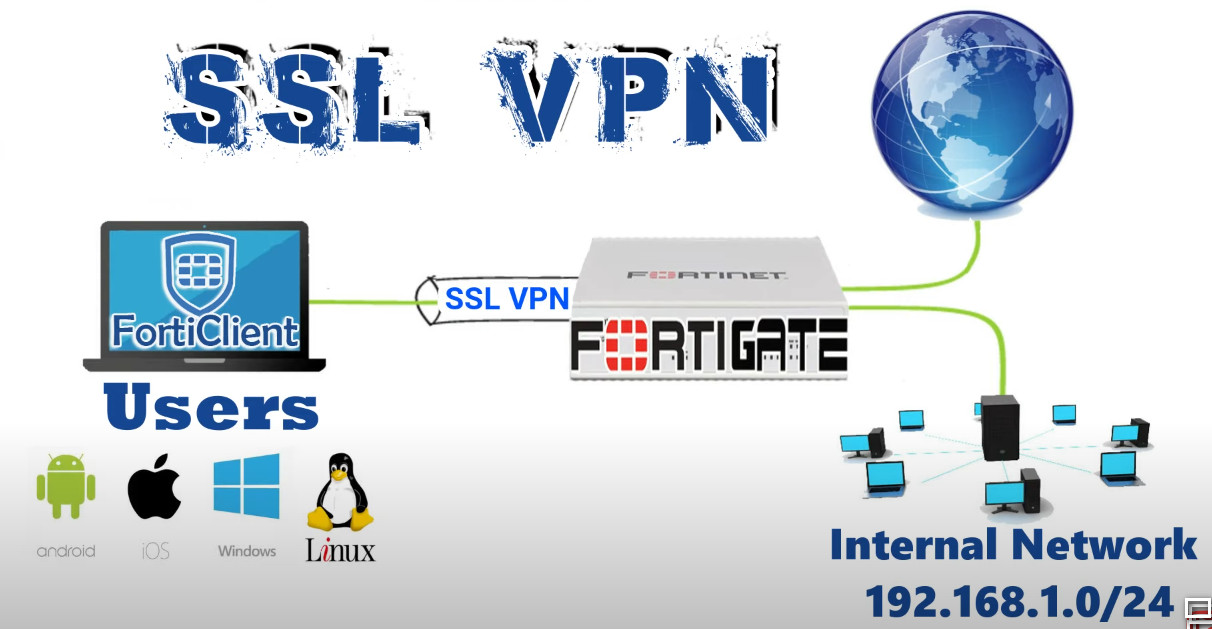
SSL VPN full tunnel for remote user Fortinet

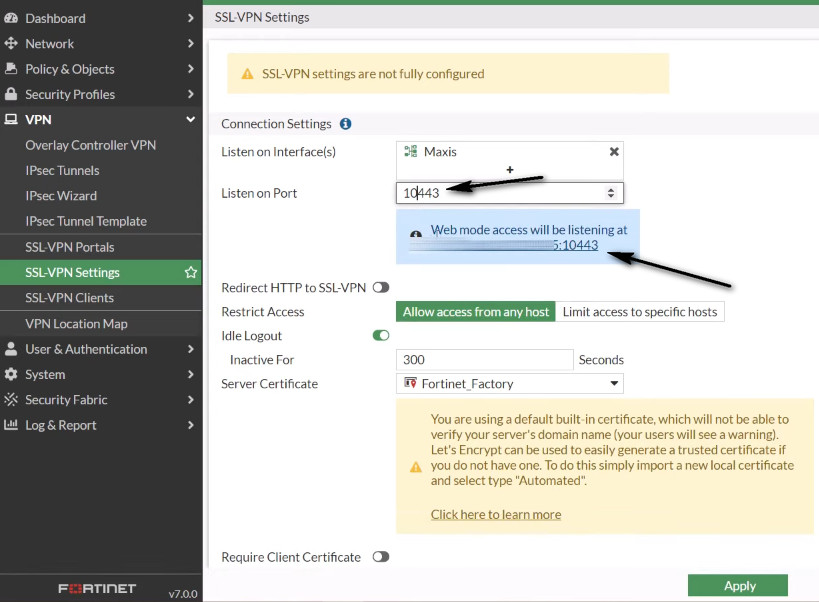
WAN interface is the interface connected to ISP. This example shows static mode. You can also use DHCP or PPPoE mode. The SSL VPN connection is established over the WAN interface. Ensure that SSL VPN feature visibility is enabled before starting the configuration.

To configure SSL VPN using the GUI:

  1. Enable SSL VPN feature visibility:
    1. Go to System > Feature Visibility.
    2. In the Core Features section, enable SSL-VPN.
    3. Click Apply.


  1. Configure the interface and firewall address:
    1. Go to Network > Interfaces and edit the wan1 interface.
    2. Set IP/Network Mask to 172.20.120.123/255.255.255.0.
    3. Edit port1 interface and set IP/Network Mask to 192.168.1.99/255.255.255.0.
    4. Click OK.


  1. Configure user and user group:
    1. Go to User & Authentication > User Definition to create a local user sslvpnuser1.
    2. Go to User & Authentication > User Groups to create a group sslvpngroup with the member sslvpnuser1.


  1. Configure SSL VPN web portal:
    1. Go to VPN > SSL-VPN Portals to create a tunnel mode only portal my-full-tunnel-portal.
    2. On Split Tunneling For User Internet Use Own Connection load reduce firewall


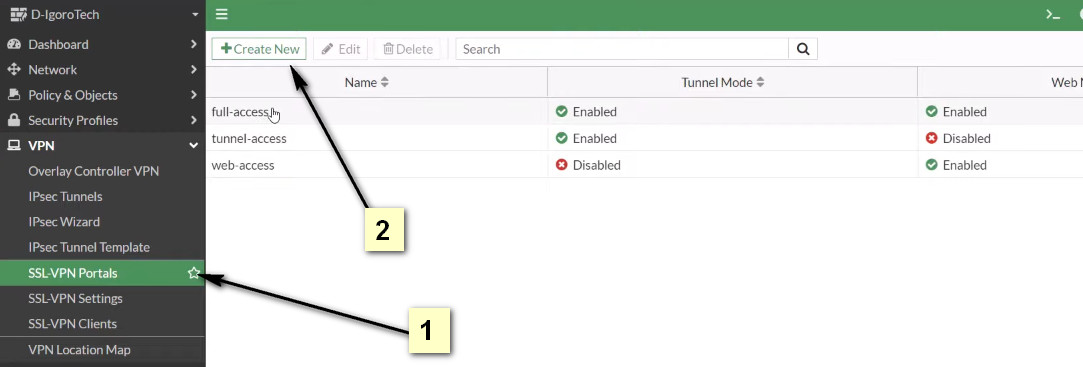
Click To full-access


  1. Configure SSL VPN settings:
    1. Go to VPN > SSL-VPN Settings.
    2. For Listen on Interface(s), select wan1.
    3. Set Listen on Port to 10443.
    4. Choose a certificate for Server Certificate. The default is Fortinet_Factory.
    5. In Authentication/Portal Mapping All Other Users/Groups, set the Portal to tunnel-access.
    6. Create new Authentication/Portal Mapping for group sslvpngroup mapping portal my-full-tunnel-portal.


  1. Configure SSL VPN firewall policies to allow remote user to access the internal network:
    1. Go to Policy & Objects > Firewall Policy and click Create New.
    2. Set Name to sslvpn tunnel mode access.
    3. Set Incoming Interface to SSL-VPN tunnel interface(ssl.root).
    4. Set Outgoing Interface to port1.<Lan>
    5. Set the Source Address to all and User to sslvpngroup.
    6. Set Destination to allSchedule to alwaysService to ALL, and Action to Accept.
    7. Click OK.
    8. Click Create New.
    9. Set Name to sslvpn tunnel mode outgoing.
    10. Configure the same settings as the previous policy, except set Outgoing Interface to wan1.
    11. Click OK And <Disable Nat>