- 8777701917
- info@saikatinfotech.com
- Basirhat W.B

SSH (Secure Shell) is a cryptographic network protocol used for securely accessing and managing devices over an unsecured network, like the internet. It provides a secure channel over which data can be transmitted, preventing eavesdropping, tampering, and other attacks. SSH is commonly used to:
Remote Login: It allows users to securely log in to remote computers or servers to manage files, run commands, or execute applications.
File Transfer: With tools like SCP (Secure Copy Protocol) or SFTP (Secure File Transfer Protocol), SSH enables secure file transfers between computers.
Port Forwarding/Tunneling: SSH can forward network traffic securely, which is useful for accessing resources behind firewalls or secure networks.
Key Features of SSH:
Encryption: SSH encrypts the entire session, ensuring that sensitive data like passwords or file contents cannot be intercepted by unauthorized parties.
Authentication: SSH uses various methods like passwords, public-key authentication, or certificate-based authentication to verify the identity of users or systems.
Integrity: SSH ensures data integrity by using cryptographic techniques to detect and prevent tampering with data in transit.
Common SSH Usage:
Connecting to remote servers: Administrators and developers use SSH to manage remote systems.
Managing services: SSH is widely used to configure services or troubleshoot remote servers.
Automating tasks: SSH allows scripts to be executed securely on remote machines, useful for automating system updates, backups, or deployment processes.

What Is SSH
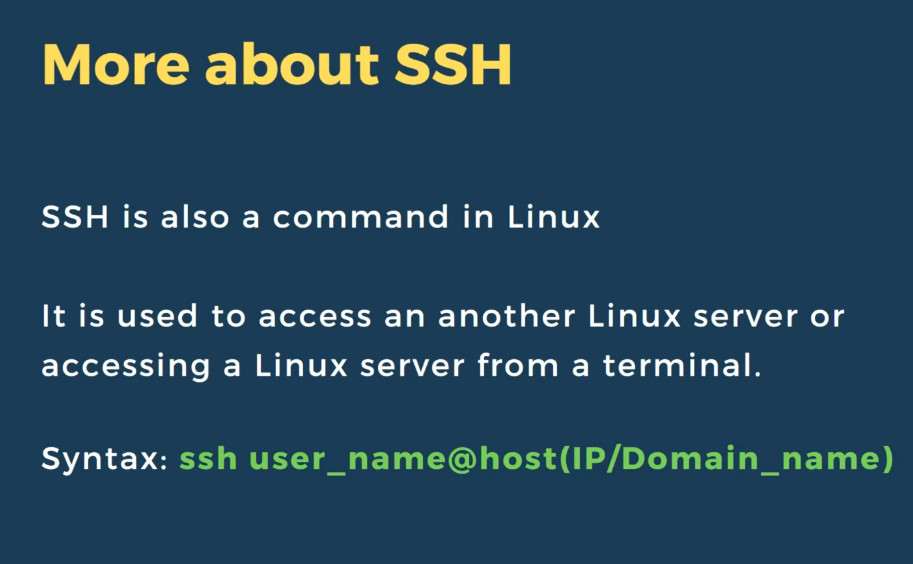
SSH, or Secure Shell Protocol, is a remote administration protocol that allows users to access, control, and modify their remote servers over the internet.
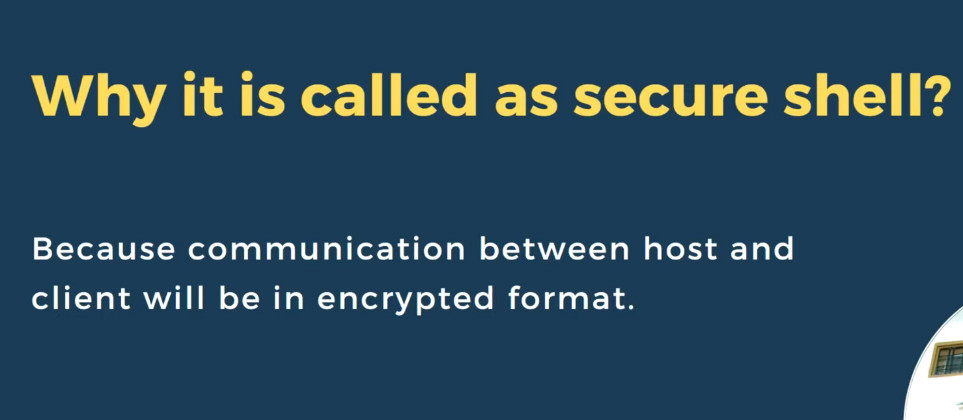
SSH service was created as a secure replacement for the unencrypted Telnet and uses cryptographic techniques to ensure that all communication to and from the remote server happens in an encrypted manner. It provides a mechanism for authenticating a remote user, transferring inputs from the client to the host, and relaying the output back to the client.
The example below shows a typical SSH prompt. Any Linux or macOS user can SSH into their remote server directly from the terminal window. Windows users can take advantage of SSH clients like Putty. You can execute shell commands in the same manner as you would if you were physically operating the remote computer.
Understanding Different Encryption Techniques
The significant advantage offered by SSH over its predecessors is the use of encryption to ensure a secure transfer of information between the host and the client. Host refers to the remote server you are trying to
access, while the client is the computer you are using to access the host. There are three different encryption technologies used by SSH:
Symmetric Encryption
Symmetric encryption is a form of encryption where a secret key is used for both encryption and decryption of a message by both the client and the host. Effectively, anyone possessing the key can decrypt the message being transferred.
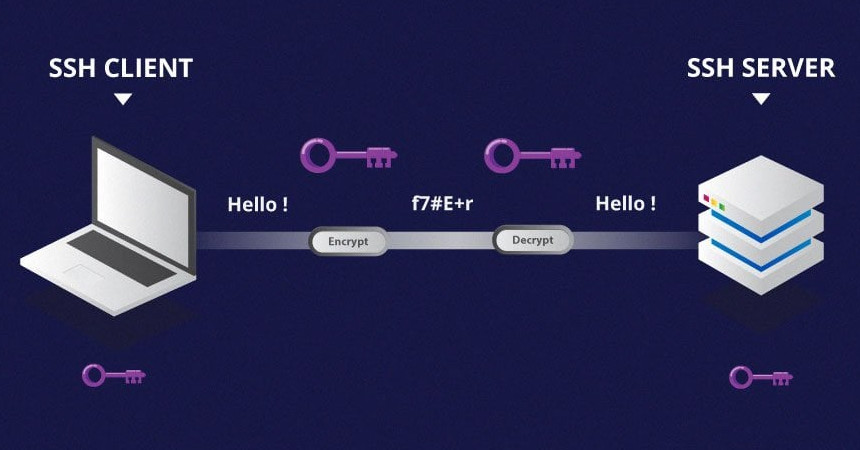
Symmetrical encryption is often called shared key or shared secret encryption. There is usually only one key that is used, or sometimes a pair of keys, where one key can easily be calculated using the other key.
Symmetric keys are used to encrypt the entire communication during an SSH session. Both the client and the server derive the secret key using an agreed method, and the resultant key is never disclosed to any third party.
The process of creating a symmetric key is carried out by a key exchange algorithm. What makes this algorithm particularly secure is the fact that the key is never transmitted between the client and the host.
Instead, the two computers share public pieces of data and then manipulate it to independently calculate the secret key. Even if another machine captures the publically shared data, it won’t be able to calculate the key because the key exchange algorithm is not known.
It must be noted, however, that the secret token is specific to each SSH session, and is generated prior to client authentication. Once the key has been generated, all packets moving between the two machines must be encrypted by the private key. This includes the password typed into the console by the user, so credentials are always protected from network packet sniffers.
A variety of symmetrical encryption ciphers exist, including, but not limited to, AES (Advanced Encryption Standard), CAST128, Blowfish, etc. Before establishing a secured connection, the client and a host decide upon which cipher to use, by publishing a list of supported ciphers in order of preference. The most preferred cipher – from the clients supported ciphers – that is present on the host’s list is used as the bidirectional cipher.
For example, if two Ubuntu 14.04 LTS machines are communicating with each other over SSH, they will use aes128-ctr as their default cipher.
Asymmetric Encryption
Unlike symmetrical encryption, asymmetrical encryption uses two separate keys for encryption and decryption. These two keys are known as the public key and the private key. Together, both these keys form a public-private key pair.
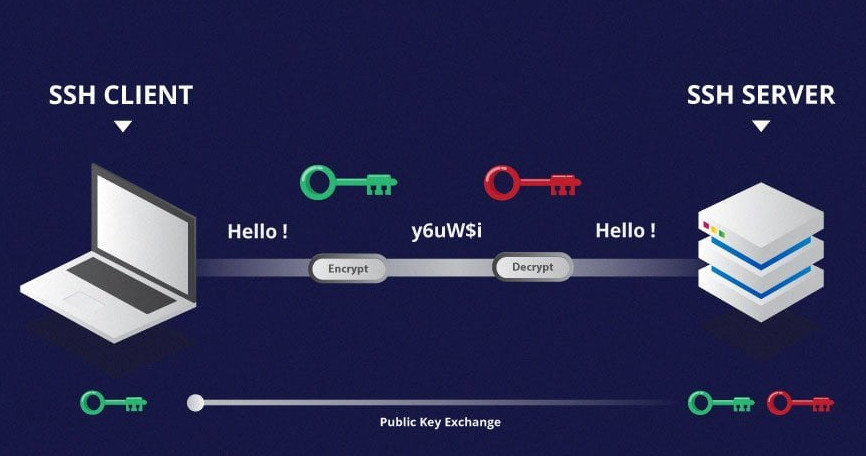
A public key can be used by any individual to encrypt a message and can only be decrypted by the recipient who possesses their particular private key, and vice versa. These consist of extensive and seemingly random combinations of numbers and symbols, however, both public and private keys are paired using complex mathematical algorithms.
For example, in order to authenticate the sender, a message is encrypted using their own private key. Therefore, the message can only be decrypted using that specific sender’s public key. Note that both encryption and decryption mechanisms are automatic processes – you don’t need to do anything manually.
Unlike the general perception, asymmetrical encryption is not used to encrypt an entire SSH session. Instead, it is used during the key exchange algorithm of symmetric encryption. Before initiating a secured connection, both parties generate temporary public-private key pairs and share their respective private keys to produce the shared secret key.
Once a secured symmetric communication has been established, the server uses the client’s public key to generate and challenge and transmit it to the client for authentication. If the client can successfully decrypt the message, it means that it holds the private key required for the connection – the SSH session then begins.
Hashing
One-way hashing is another form of cryptography used in Secure Shell Connections. One-way-hash functions differ from the above two forms of encryption in the sense that they are never meant to be decrypted. They generate a unique value of a fixed length for each input that shows no clear trend which can be exploited. This makes them practically impossible to reverse.
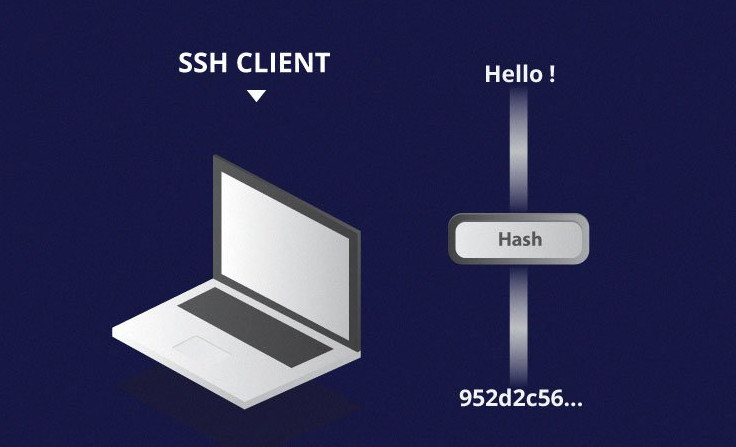
It is easy to generate a cryptographic hash from a given input, but impossible to generate the input from the hash. This means that if a client holds the correct input, they can generate the cryptographic hash and compare its value to verify whether they possess the correct input.
SSH uses hashes to verify the authenticity of messages. This is done using HMACs, or Hash-based Message Authentication Codes. This ensures that the command received is not tampered with in any way.
While the symmetrical encryption algorithm is being selected, a suitable message authentication algorithm is also selected. This works in a similar way to how the cipher is selected, as explained in the symmetric encryption section.
Each message that is transmitted must contain a MAC, which is calculated using the symmetric key, packet sequence number, and the message contents. It is sent outside the symmetrically encrypted data as the concluding section of the communication packet.
How Does SSH Work With These Encryption Techniques
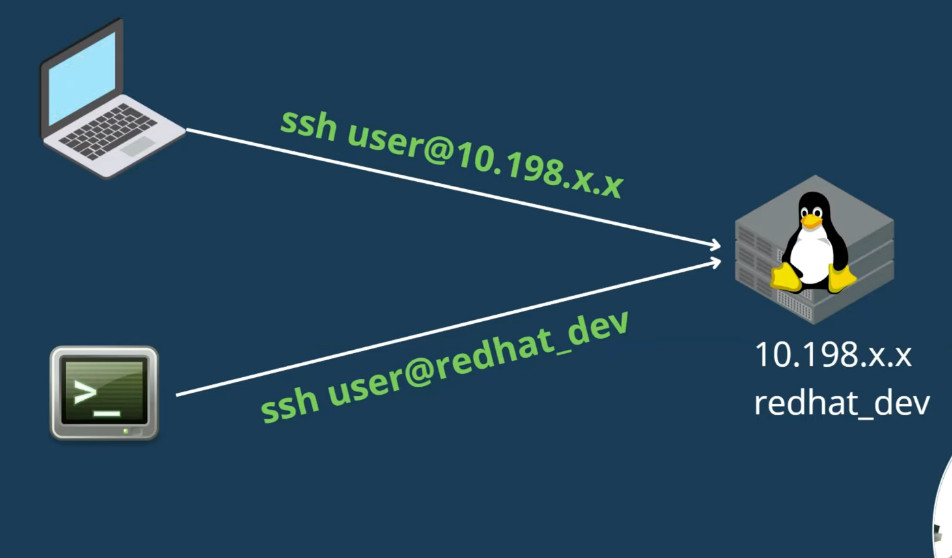
The way SSH works is by making use of a client-server model to allow for authentication of two remote systems and encryption of the data that passes between them.
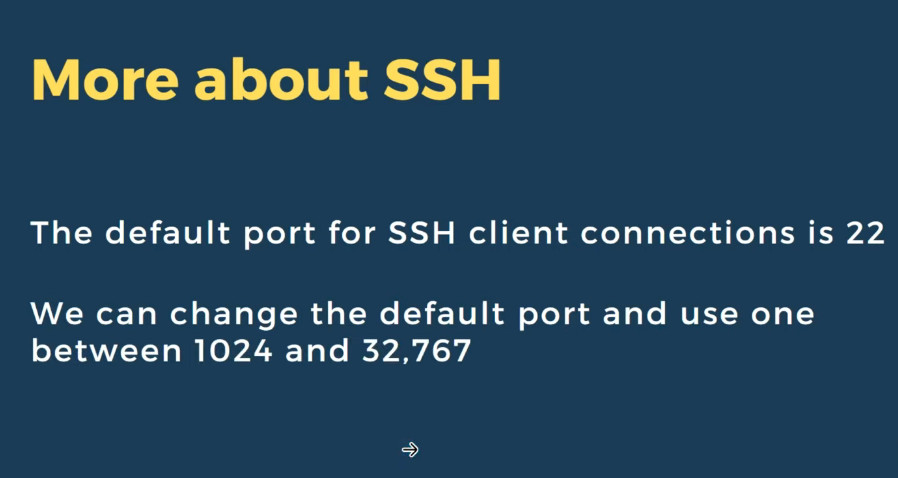
SSH operates on TCP port 22 by default (though SSH port can be changed if needed). The host (server) listens on port 22 (or any other SSH assigned port) for incoming connections. It organizes the secure connection by authenticating the client and opening the correct shell environment if the verification is successful.

The client must begin the SSH connection by initiating the TCP handshake with the server, ensuring a secured symmetric connection, verifying whether the identity displayed by the server match previous records (typically recorded in an RSA key store file), and presenting the required user credentials to authenticate the connection.
There are two stages to establishing a connection – first, both the systems must agree upon encryption standards to protect future communications, and second, the user must authenticate themselves. If the credentials match, then the user is granted SSH access.
Session Encryption Negotiation
When a client tries to connect to the server via TCP, the server presents the encryption protocols and respective versions that it supports. If the client has a similar matching pair of a protocol and version, an agreement is reached and the connection is started with the accepted protocol. The server also uses an asymmetric public key which the client can use to verify the authenticity of the host.
Once this is established, the two parties use what is known as a Diffie-Hellman Key Exchange Algorithm to create a symmetrical key. This algorithm allows both the client and the server to arrive at a shared encryption key which will be used henceforth to encrypt the entire communication session.
Here is how the algorithm works at a very basic level:
Now that the secured symmetrically encrypted session has been established, the user must be authenticated.
Authenticating the User
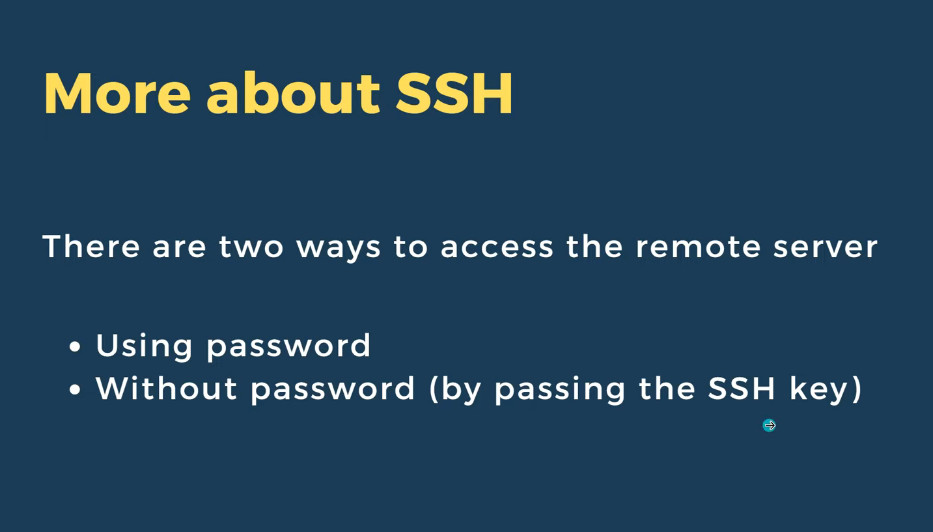
The final stage before the user is granted SSH access to the server is authenticating his/her credentials. For this, most SSH users use a password. The user is asked to enter the username, followed by the password. These credentials securely pass through the symmetrically encrypted tunnel, so there is no chance of them being captured by a third party.
Although passwords are encrypted, it is still not recommended to use passwords for secure connections. This is because many bots can simply brute force easy or default passwords and gain shell access to your account. Instead, the recommended alternative is SSH Key Pairs.
These are a set of asymmetric keys used to authenticate the user without the need of inputting any password.
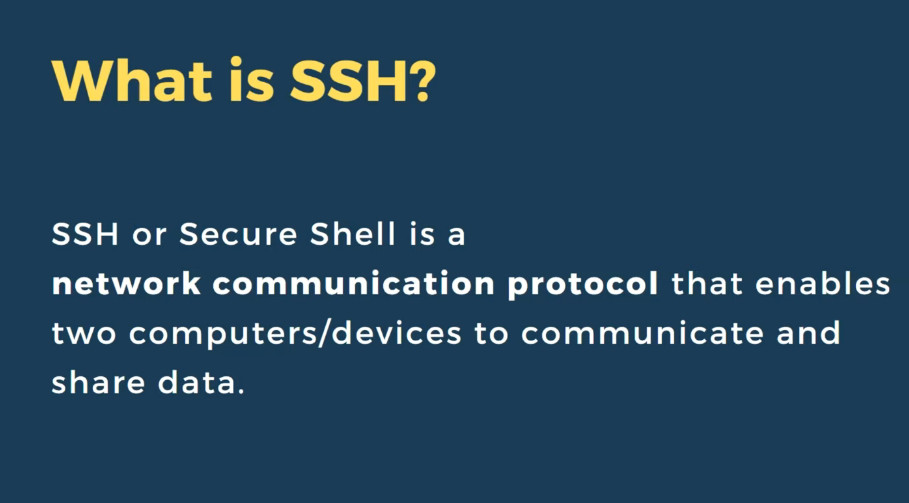
Why Is SSH Used?
Secure Shell (SSH for short) is a network communication protocol that makes it possible for two computers to communicate with one another. SSH also makes data transfers possible between two computers.
We will also learn how to disable SSH root login in Linux. Disabling SSH root login enhances security by mitigating the risk of brute force attacks against the root account, which, if compromised, grants full control over the system.
Introduction
A while ago, we discussed how to limit a user’s access to Linux system using Restricted shell. Once we have put the users in restricted mode, they can’t do anything except what they are allowed to do.
It will be helpful when you want to allow a particular user to execute only a specific set of commands.
In this article, we are going to enable or disable SSH access for an user or group by making a few changes in SSH default configuration file.
Allow or Deny SSH Access to a Particular User or Group in Linux
The openSSH default configuration file has two directives for allowing and denying SSH access to a particular user(s) or a group.
First, let us see how to allow or enable SSH access to an user and group. Please note that all commands given below should be run as root or sudo user.
1. Allow SSH Access to a User or Group
To allow SSH access for a particular user, for example sk, edit /etc/ssh/sshd_config file:
Commnd
sudo nano /etc/ssh/sshd_config
modify the following line:
AllowUsers sk
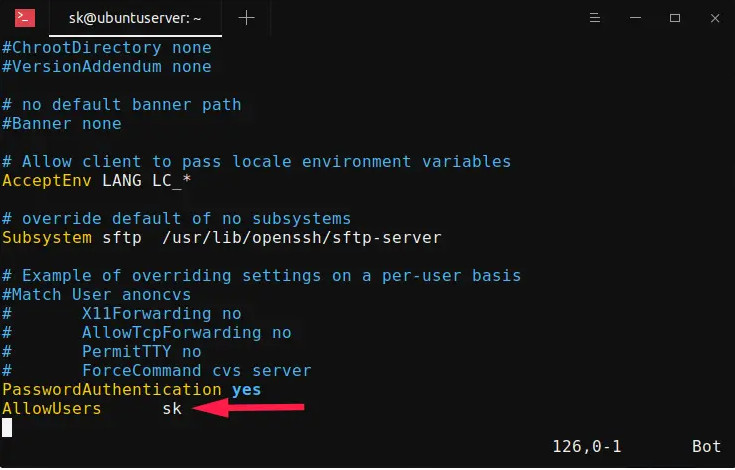
Replace “sk” with your username. Please mind the space indentation between “AllowUsers” and “sk“. You should use Tab instead of Space-bar. Meaning – add the word “AllowUsers” and hit the Tab key and then specify the username.
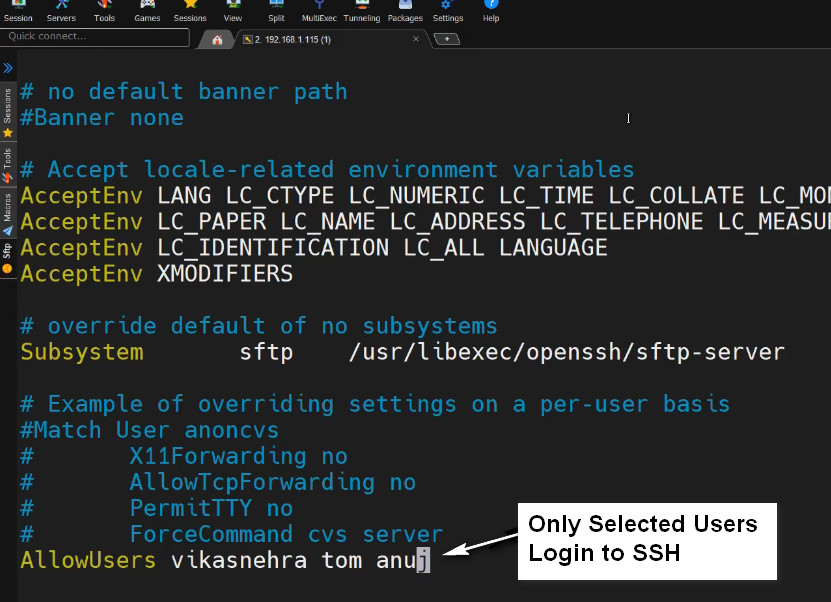
You can also specify more than one user as shown below.
AllowUsers user1 user2
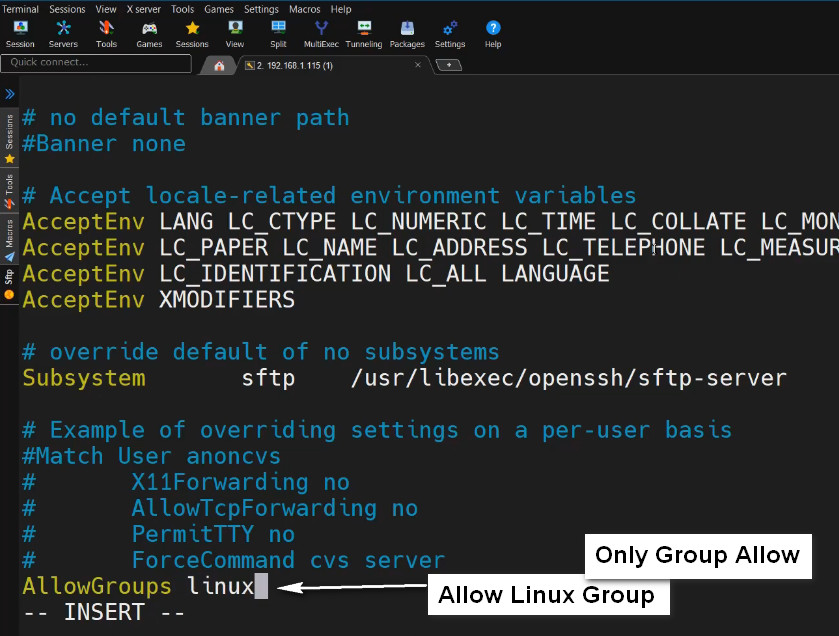
To allow SSH access for an entire group, say for example root, add/edit the following line:
AllowGroups root
This setting will allow all the members of the "root" group to ssh to the Linux server
sudo systemctl restart sshd
Now, the user sk and all the members of the "root" group are allowed to ssh into your Linux server. The other users (except sk and members of "root" group) are not allowed to access the system via ssh.
To verify it, try to ssh into the Linux server as any one of the non-allowed user
2. Deny SSH Access to a User or Group
To disable or deny SSH access to an user or group, you need to add/modify the following directives in your remote server’s /etc/ssh/sshd_config file.
To deny SSH access to specific user called “sk”, edit /etc/ssh/sshd_config file:
sudo nano /etc/ssh/sshd_config
Add/edit the following line:
DenyUsers sk
Make sure the space indentation is correct. Don’t use Space-bar. Press Tab key and add the username.
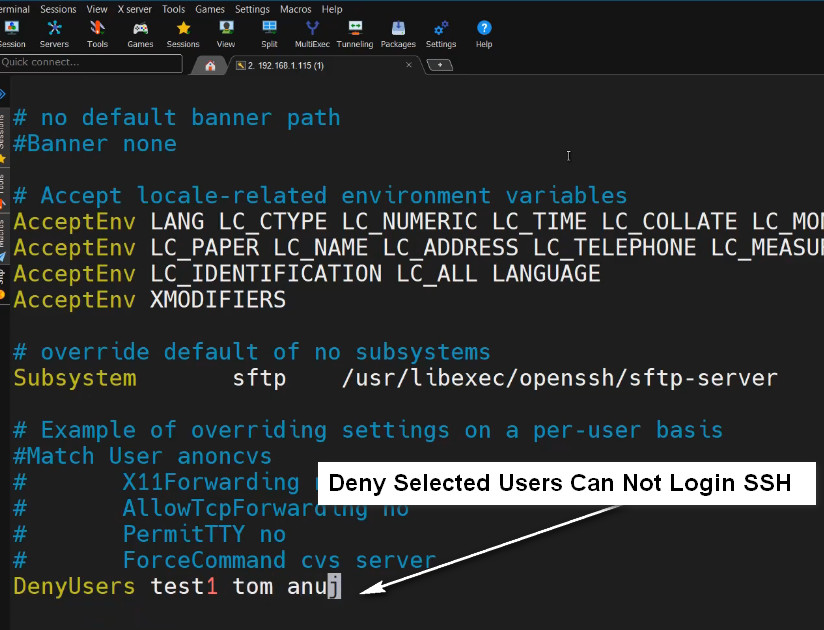
Similarly, to deny SSH access to multiple users, specify the usernames with space separated as shown below.
DenyUsers user1 user2
Likewise, to deny SSH access to an entire group, for example root, add:
DenyGroups root
Save and quit the ssh config file. Restart ssh service to take effect the changes.
sudo systemctl restart sshd
3. Disable SSH Root Login
Root ssh access is considered a bad practice in terms of security. So it is strongly recommended to disable SSH Root user login to secure your system.
To disable root ssh login, edit /etc/ssh/sshd_config file:
sudo nano /etc/ssh/sshd_config
Find the following line, Uncomment it, and set the value to no.
PermitRootLogin no
Restart SSH service to take effect the changes immediately:
sudo systemctl restart sshd
SSH Idle Timeout refers to the period of inactivity allowed before an SSH session is automatically disconnected. If there’s no activity (like typing or command execution) for a specified amount of time, the session is closed.
This feature is useful for security, as it helps to prevent sessions from being left open indefinitely and potentially exposed to unauthorized access.
How to Set SSH Idle Timeout on Linux
There are two primary places where you can configure SSH idle timeout: the SSH server configuration (/etc/ssh/sshd_config) and the SSH client configuration (/etc/ssh/ssh_config or ~/.ssh/config).
1. Server-Side (sshd_config)
To set an idle timeout on the SSH server, you need to modify the sshd_config file.
Increase SSH Connection Timeout
On the server, head over to the /etc/ssh/sshd_config configuration file.
sudo nano /etc/ssh/sshd_config
Scroll and locate the following parameters:
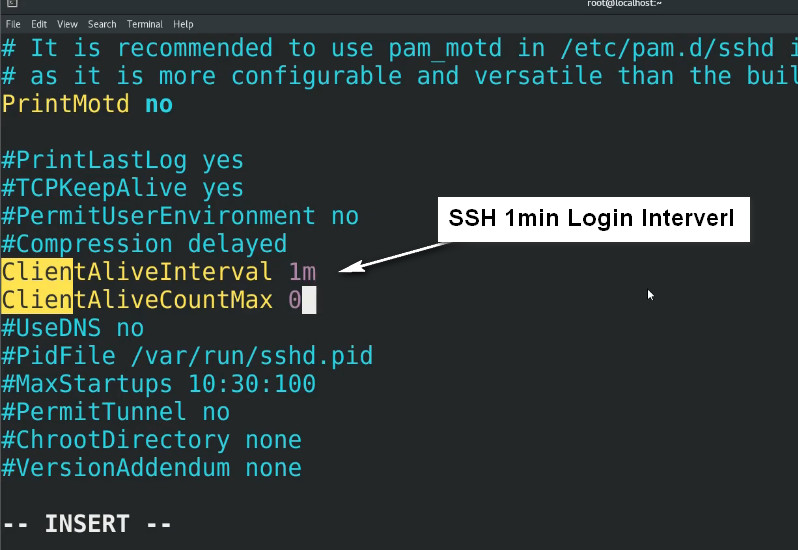
#ClientAliveInterval
#ClientAliveCountMax
The ClientAliveInterval parameter specifies the time in seconds that the server will wait before sending a null packet to the client system to keep the connection alive.
On the other hand, the ClientAliveCountMax parameter defines the number of client alive messages which are sent without getting any messages from the client. If this limit is reached while the messages are being sent, the sshd daemon will drop the session, effectively terminating the ssh session.
The timeout value is given by the product of the above parameters i.e.
Timeout value = ClientAliveInterval * ClientAliveCountMax
For example, let’s say you have defined your parameters as shown:
ClientAliveInterval 1200
ClientAliveCountMax 3
The Timeout value will be 1200 seconds * 3 = 3600 seconds. This is an equivalent of 1 hour, which implies that your ssh session will remain alive for idle time of 1 hour without dropping.
Alternatively, you can achieve the same result by specifying the ClientAliveInterval parameter alone.
ClientAliveInterval 3600
Once done, reload the OpenSSH daemon for the changes to come into effect.
sudo systemctl reload sshd
Changing the default SSH port (port 22) in Linux is a good practice for improving security by making it more difficult for attackers to find and target your SSH service. Here’s a step-by-step guide on how to change the default SSH port:
Steps to Change the SSH Port
1. Choose a New Port
Select a port number that is not already in use by other services. The port number should be between 1024 and 65535 (ports below 1024 are considered well-known and are reserved for system use). Avoid using commonly scanned ports or ports that are already assigned to other services.
For example, you could choose port 2222 or 2200.
2. Edit the SSH Configuration
To change the SSH port, you need to modify the SSH server configuration file (/etc/ssh/sshd_config).
Open the sshd_config file in a text editor:
sudo nano /etc/ssh/sshd_config
Find the line that specifies the port (usually #Port 22 by default).
Uncomment the line (remove the # at the beginning) and change the port number to your desired port:
Port 2222
3. Update Firewall Rules
If your server has a firewall enabled, you need to allow traffic on the new port.
For UFW (Uncomplicated Firewall):
sudo ufw allow 2222/tcp
sudo ufw reload
For firewalld Centos RHEL :
sudo firewall-cmd –zone=public –add-port=2222/tcp –permanent
sudo firewall-cmd –reload
o log into a server via SSH without entering a password, you can set up SSH key-based authentication. This involves generating an SSH key pair (private and public keys) and configuring the server to trust the public key.
Here’s a step-by-step guide on how to set this up:
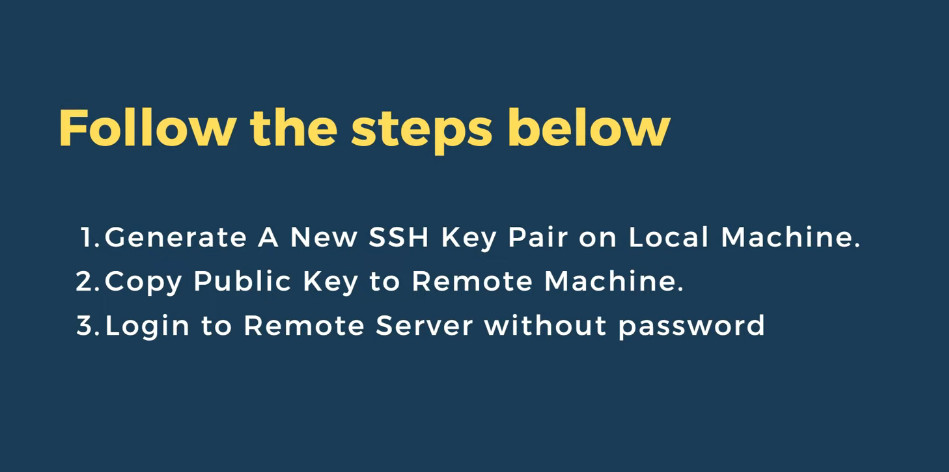
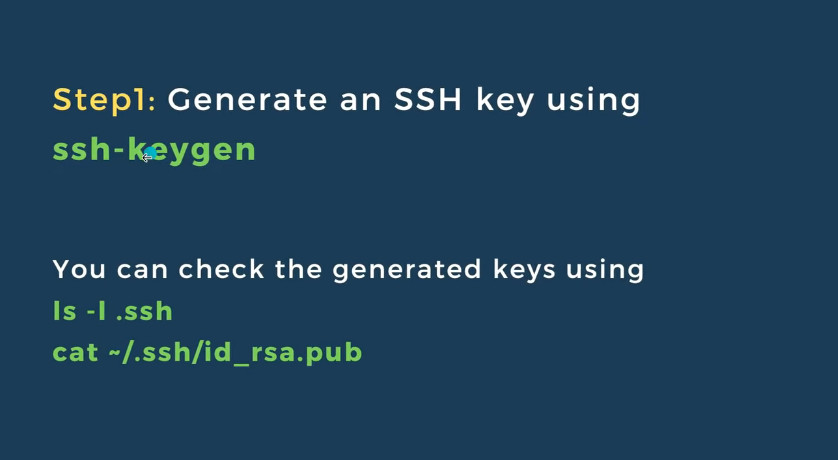
1. Generate SSH Key Pair on Your Local Machine
If you don’t already have an SSH key pair, you can generate one using the ssh-keygen command.
On Linux:
Open your terminal.
Run the following command to generate a new SSH key pair:
ssh-keygen -t rsa -b 4096
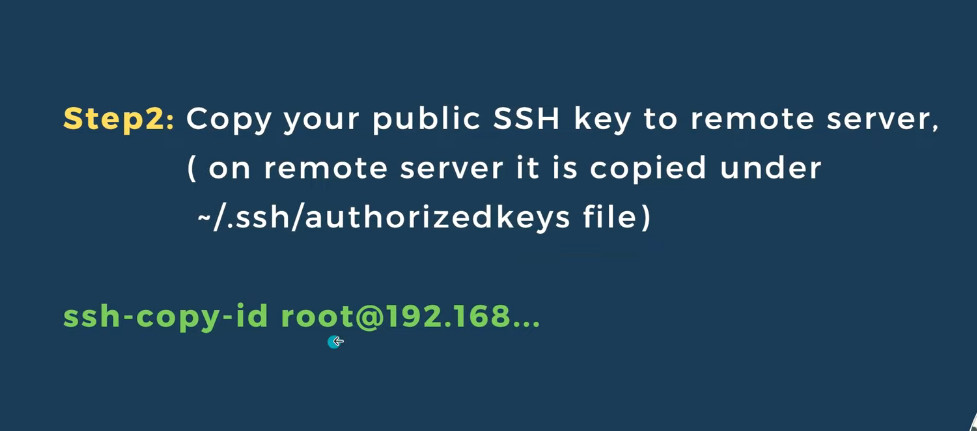
Copy the Public Key to the Remote Server
Once you’ve generated the key pair, you need to copy the public key to the remote server’s Copy the Public Key to the Remote Server
Once you’ve generated the key pair, you need to copy the public key to the remote server’s
ssh-copy-id username@server_ip
username with your actual remote server username.server_ip with the IP address of your server.This will ask for your password one last time, but after this, you’ll be able to log in without a password.
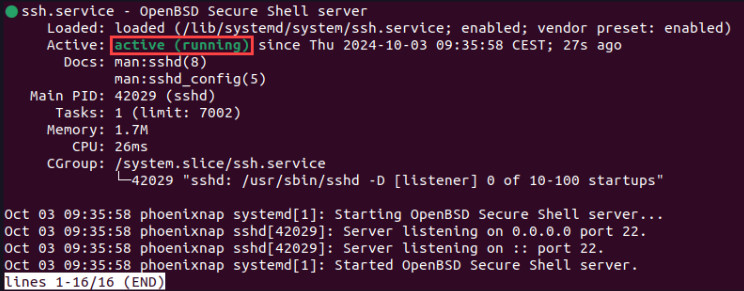
Verify SSH Server is Running
sudo systemctl status ssh